Preparing the Canvas
This tutorial is for using Photoshop 6.0 (though other versions probably work) and assumes next to no knowledge of how to use Photoshop. Many of the steps can be done by other means or differently so if you are familiar with Photoshop, feel free to use any preferred methods.
The final image of this tutorial looks like this:

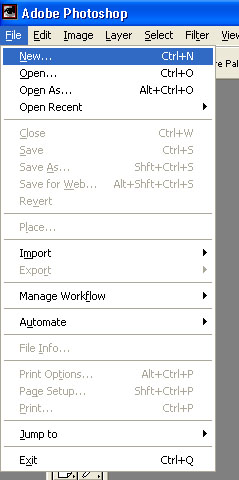
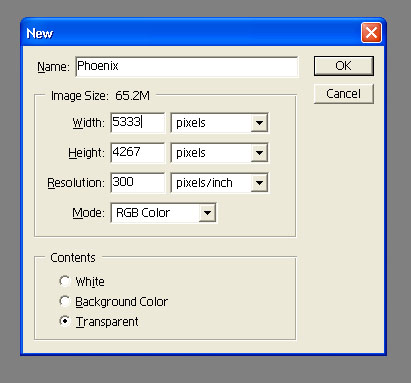
First, open Photoshop and start a new file with these settings, width-5333, height-4267, resolution-300 pixels per inch, mode-RGB color, content-Transparent. Then hit "OK." If you find you are having trouble editing an image of this size due to low computer RAM, use these settings instead: width-1280, height-1024, resolution-72 pixels per inch, mode-RGB color, and content-Transparent.
Next, pick the zoom tool, then right-click and choose "Fit on Screen."
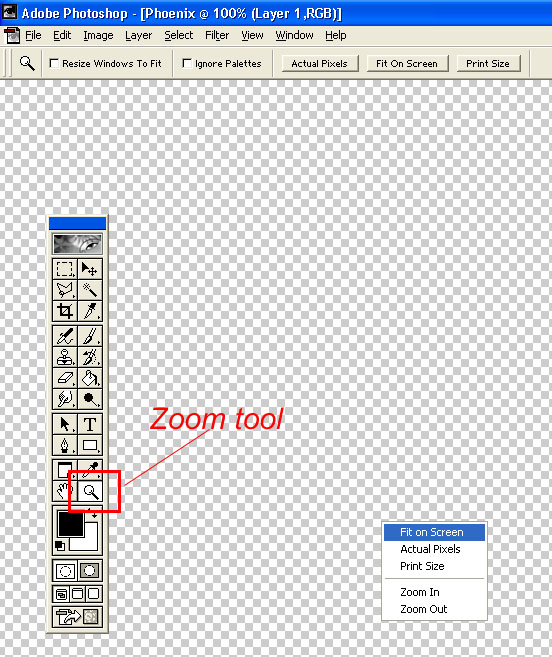
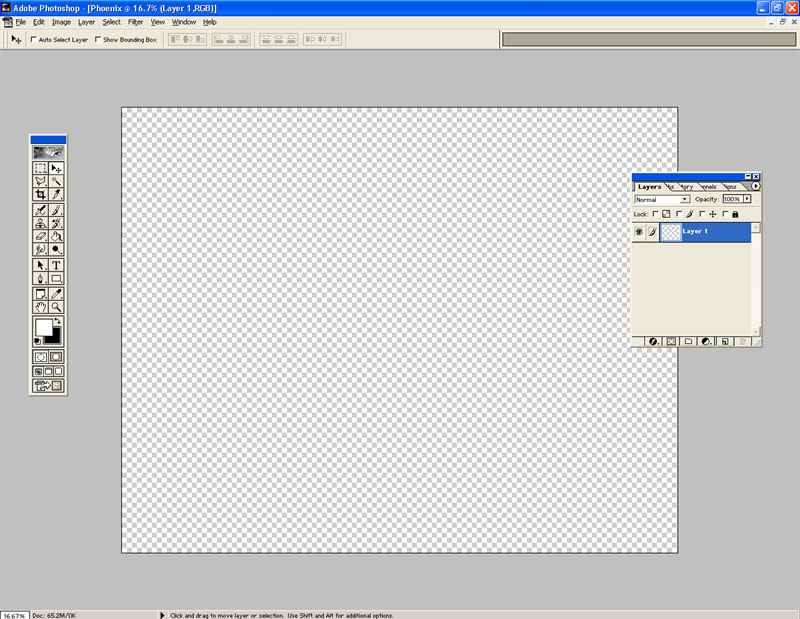
The canvas should now look something like this:
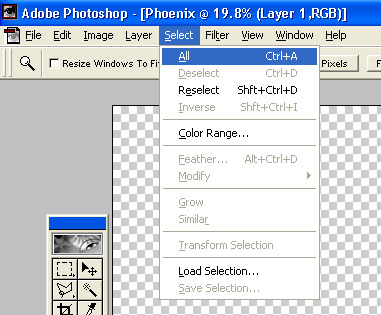
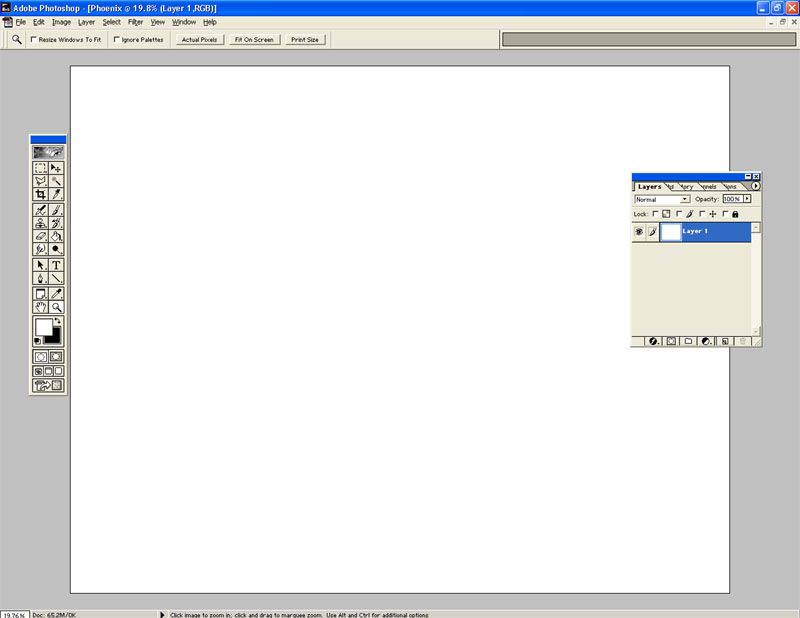
Now hit Ctrl+A or go to Select --> All
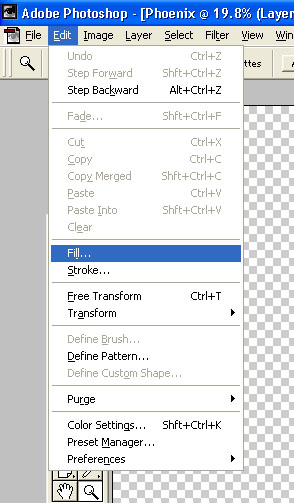
Go to Edit --> Fill...
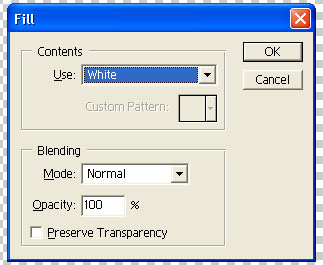
A box will appear to enter the settings to use for the Fill. Under Contents--> Use, pick "White." Under, Blending, the Mode should be Normal and the Opacity should be 100%.
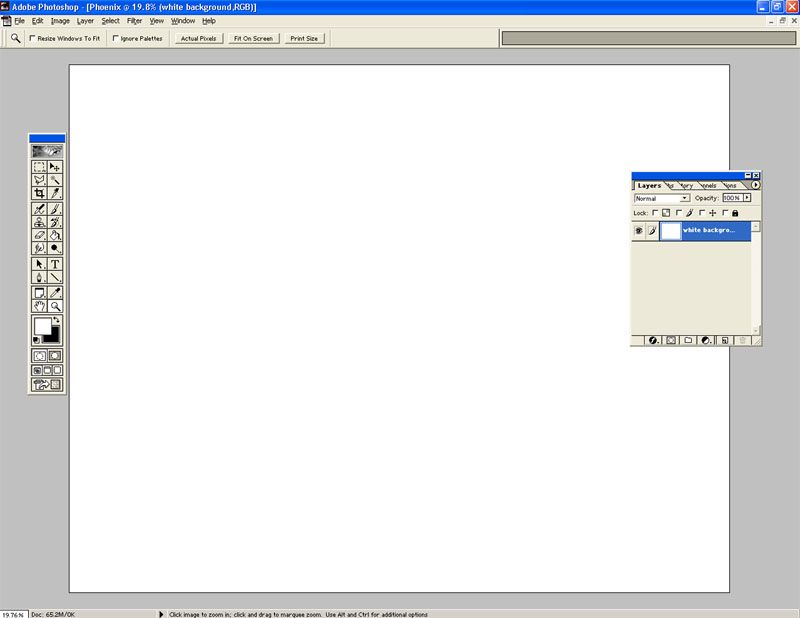
Then hit "OK," and the canvas should now look something like this:
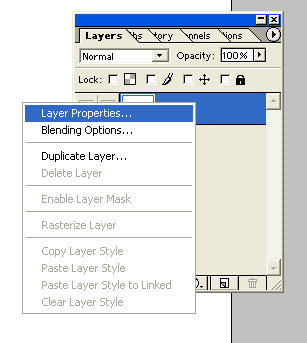
On the Layers window, right-click on Layer 1 and choose "Layer Properties..."
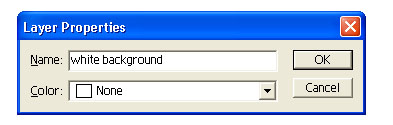
Enter "white background" for the name, leave Color as None, and hit "OK."
We're ready to move on.