Preparations for Smudging
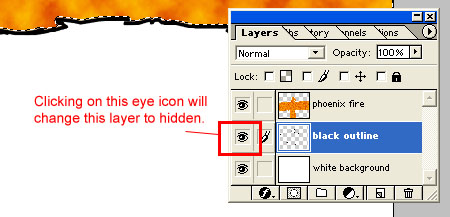
Select the layer titled "black outline," and click on the eye icon to hide the layer.
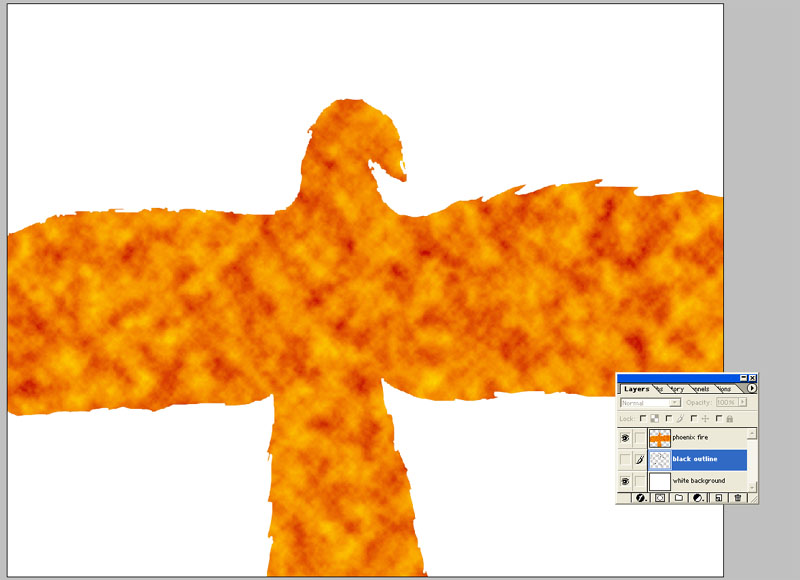
At this point, my phoenix now looks like this:
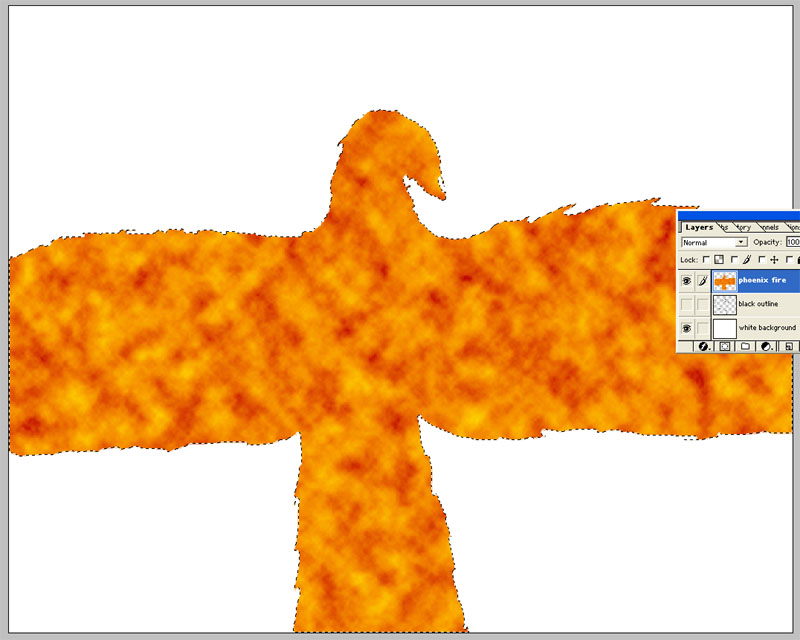
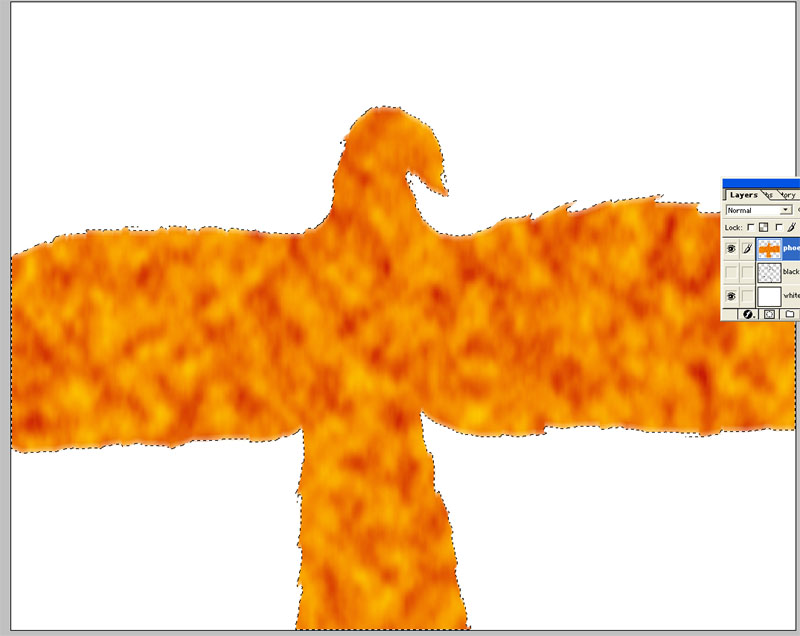
Select the layer titled "phoenix fire." Then, hold the "Ctrl" key and click on the layer titled "phoenix fire" (yes, again). The selection should look something like this:
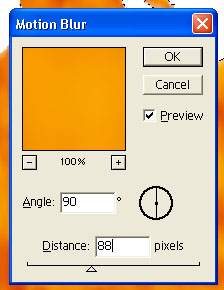
Go to Filter --> Blur --> Motion Blur.

Use these settings: Angle-90 degrees, Distance, 88.
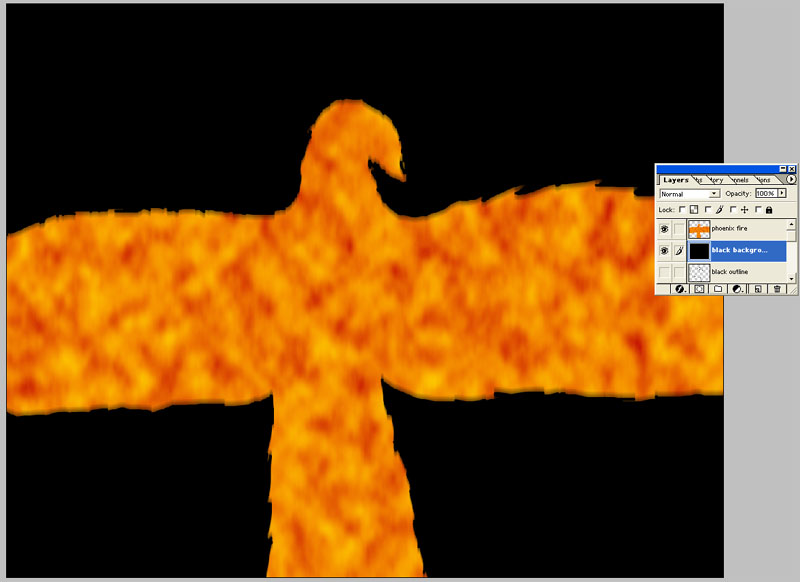
Now my Phoenix looks like this:
Hit Ctrl + D to deselect the phoenix. Create a new layer. Place this layer below the "phoenix fire" layer and above the other layers. Name this new layer "black background" and fill it with black. Here's how it looks once I've done that.
Because I am the overly precautious type, at this point, I will do the following (steps for the less precautious will be listed shortly): Go to Select --> All. Go to Edit --> Copy Merged. Go to File --> New (use same settings for current image), and hit "OK." Go to Edit --> Paste. Go to Image --> Image Size and change the resolution to 72 pixels per inch. Re-name the layer to whatever I want. Save the new file.
If you are not as overly precautious as I am, do the following to your current file. Go to Image --> Image Size and change the resolution to 72 pixels per inch (assuming you are working at 300 pixels per inch at this point). Then select either the "phoenix fire" or the "black background" layer. Go to Layer --> Merge Visible, and all the layers will be merged together. Re-name your final, merged layer to whatever you want.
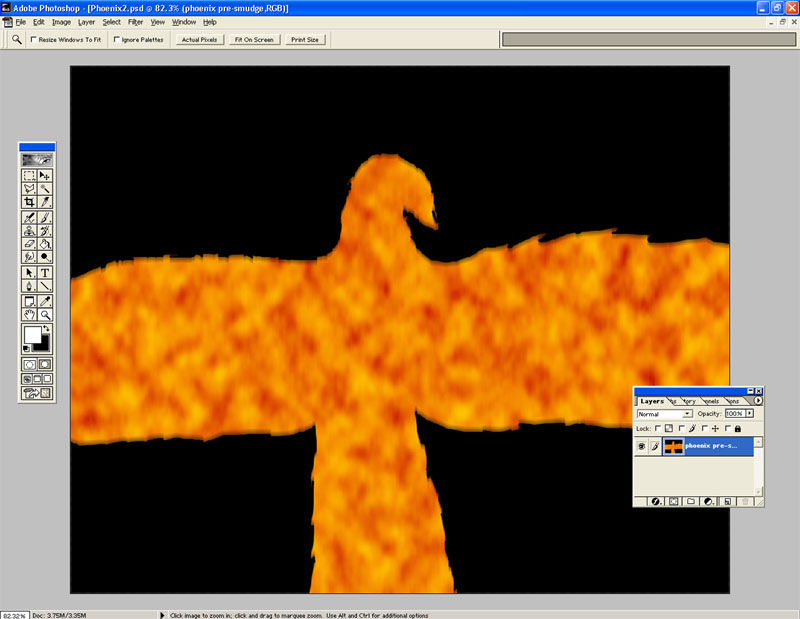
My new file, ready to be edited:
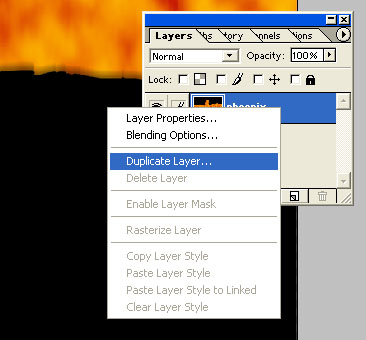
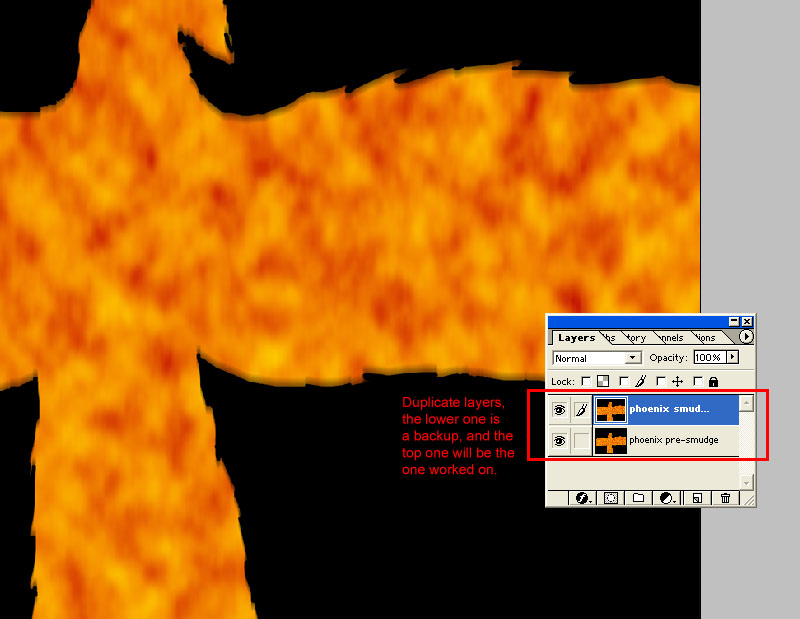
Regardless of the method you chose, we're almost ready to smudge. So that you have at least some degree of caution, right-click on the layer and choose "Duplicate Layer." If you mess up, you can at least go as far back as when you started to smudge.
I've labeled the lower layer as "phoenix pre-smudge" and the top layer as "phoenix smudged." Leave both layers as visible and select the top layer as the one you will be working on.
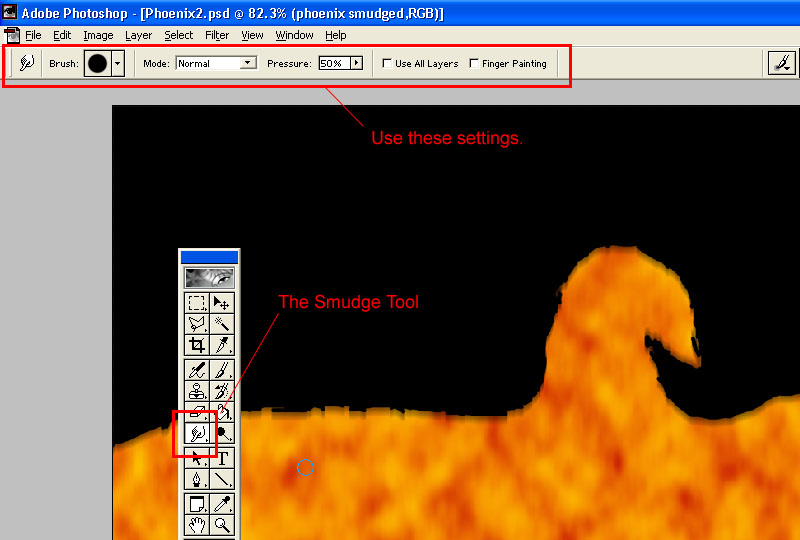
Pick the Smudge Tool. It's a small hand with the index finger pointed down, as if ready to wipe something. If you do not see it, look for either an icon that looks like a raindrop (the Blur tool) or an icon that looks like a triangle (the Sharpen tool). Click on whichever icon was found and hold down to see what other tools it can be switched to, hopefully the Smudge tool is one of them. Once you have the smudge tool chosen, pick a brush like the one you used to first create the black outline. The Mode should be at Normal and the Pressure should be set to 50%, as depicted in the image below. "Use All layers" and "Finger Painting" should NOT be checked.
Time to go crazy.