The Final Smudging
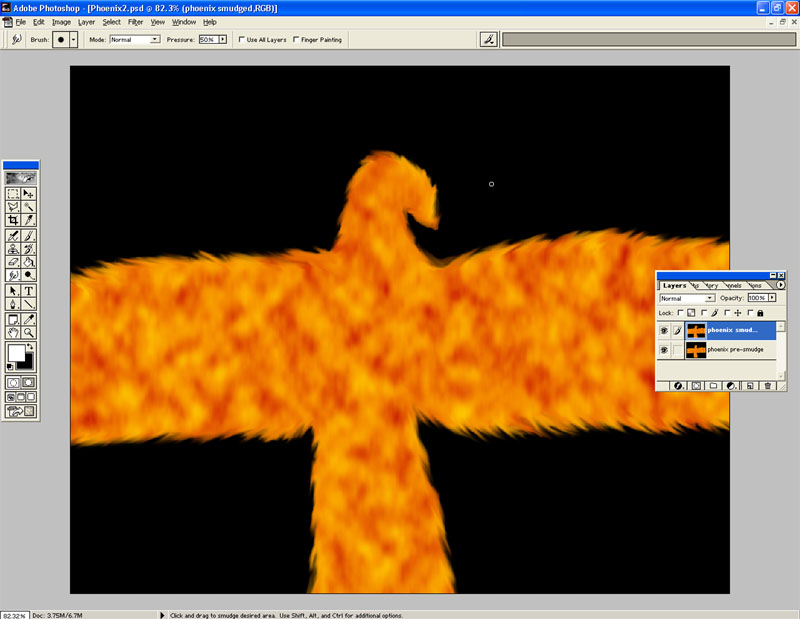
First, let's take care of the edges. Using your mouse or your tablet, stroke your cursor from inside the phoenix, near the edge, out to the black background so that the flames will blend as they extend out into the black. Do this repeatedly. As I did this, I decided I wanted to use a smaller brush so deleted the top copy, duplicated the layer again, started over, and chose a new brush size. Here's how my edge looks at this point:
Time for the interior. Choose which way you want the flames to go. I want the flames on the left wing to flow to the left, the flames on the right wing to flow to the right, etc. Here's my general plan:

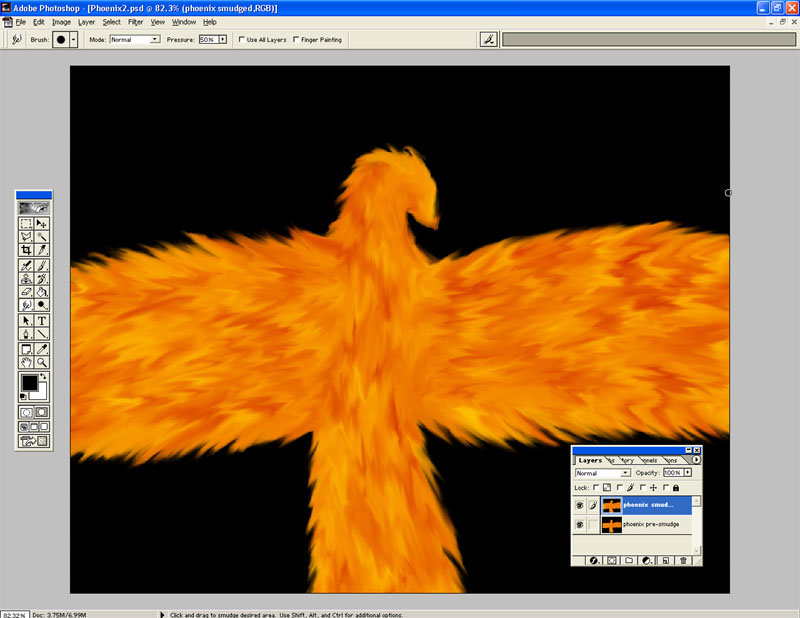
The edges are not set in stone. As I stroked my cursor from the interior out, the edges expanded a bit and took on a slighlty different look. As they started to extend too far, I stroked from the black to the inside of the phoenix instead to shorten them a bit. I also decided I wanted a brush size one notch larger and so changed it (but did not delete the layer and start over simply stroked over my previous work). After much smudging, here's how it looks:
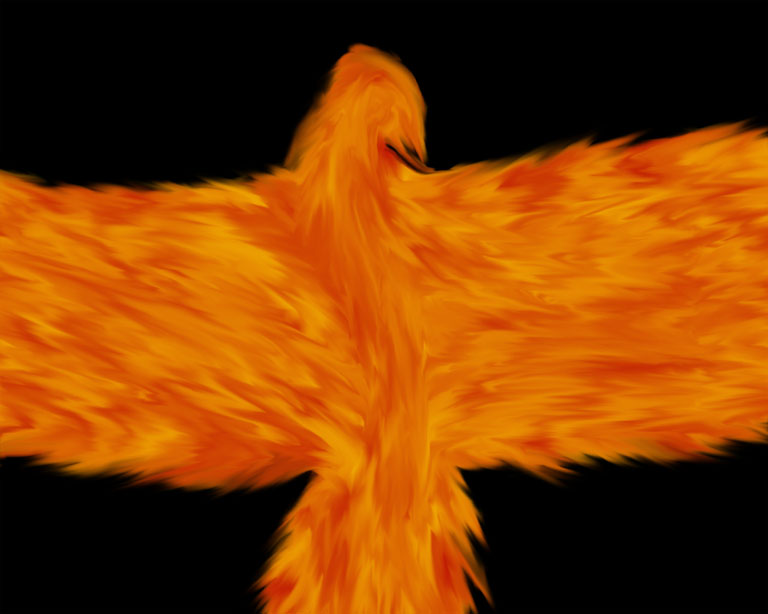
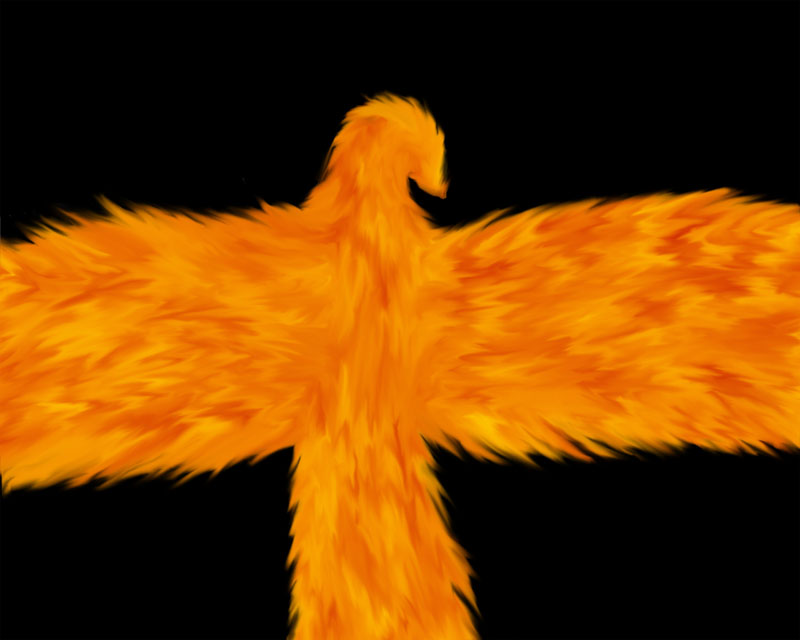
Since I have been working on this image at 82.3 % of its size the whole time, I'm going to zoom in to its full size and make a few last touch-ups with the smudge tool. Once I'm done messing around, I must choose the final size of this image. In its current state, it is 1280 x 1024. I'm going to resize it to 800 x 640 since many of the screenshots in this tutorial have been 800 pixels wide. Here is my final Phoenix image:
For curiosity and comparison's sake, here's the first one I did: